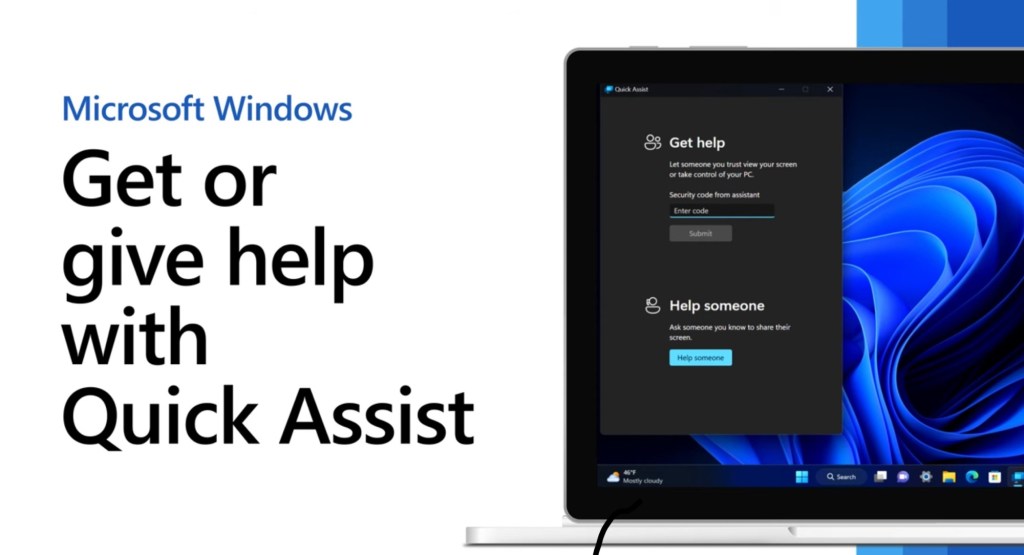
Microsoft Quick Assist is a free built-in Windows tool that enables secure remote assistance without the need for third-party software. Here’s how to access and utilize it effectively.
Why it stands out:
No extra software required — it’s already in Windows. Fast and simple — ideal for quick troubleshooting, setups, and support sessions. Secure by design — uses temporary PINs to ensure safe connections.
Quick Assist is a great reminder that sometimes, the most effective solutions are already within reach — we just need to use them.
Guide
Step 1: Launch Quick Assist
Option 1: Using Keyboard Shortcut
Press Ctrl + Windows Key + Q.
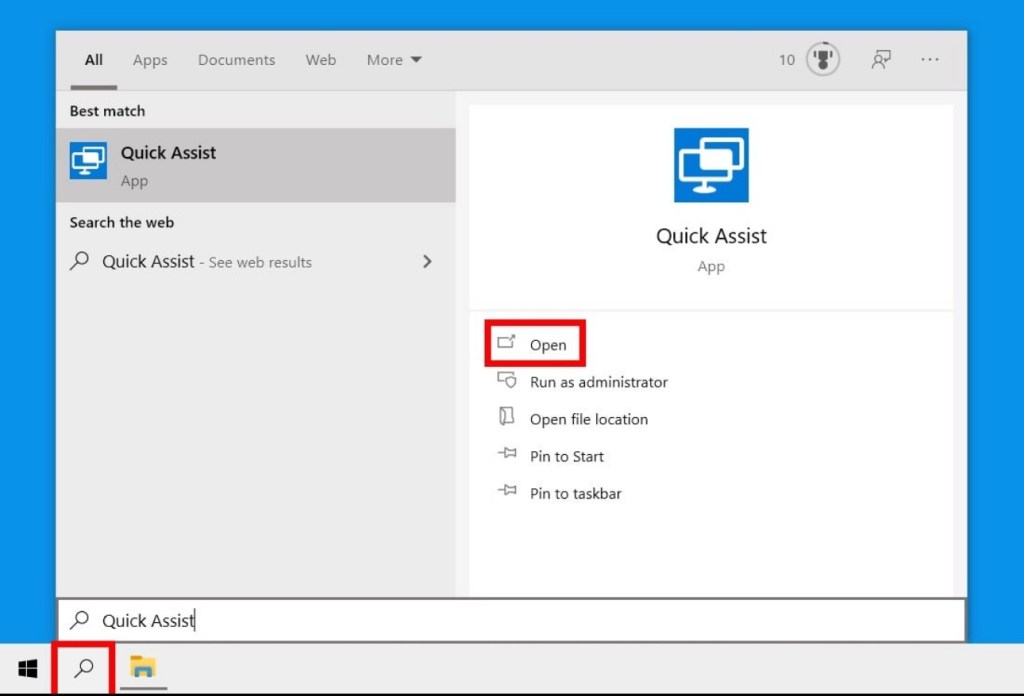
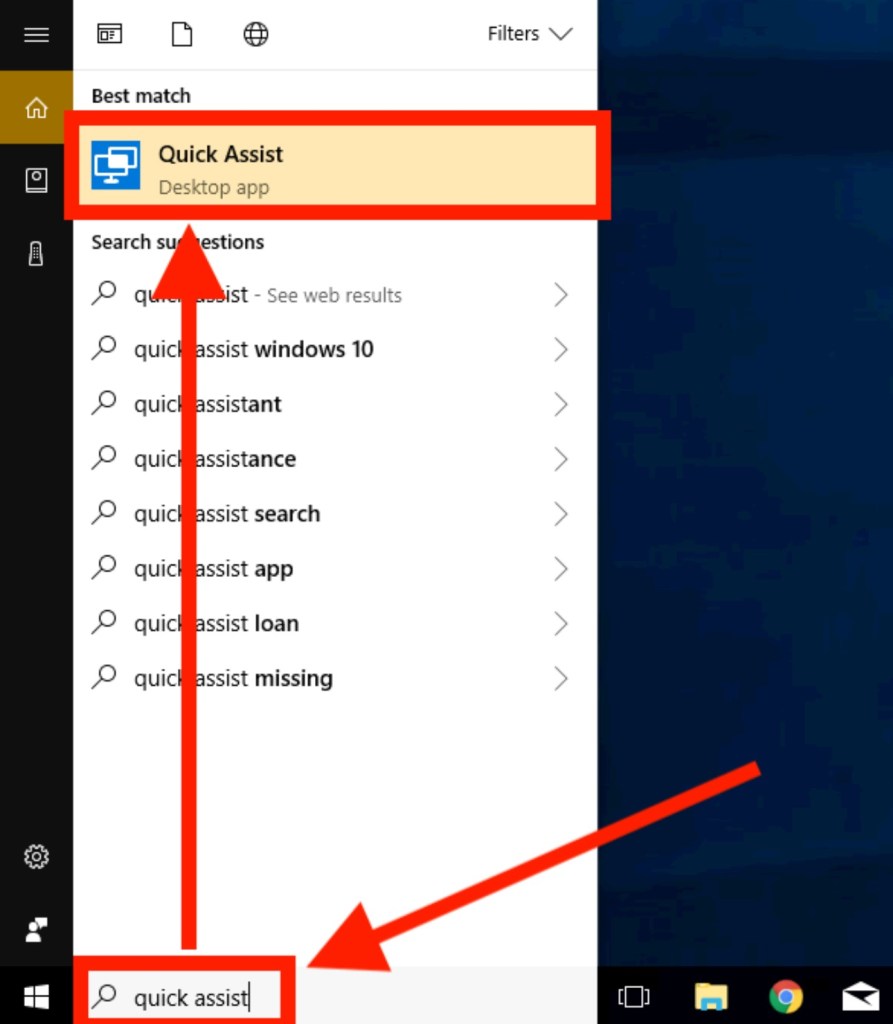
Option 2: Via Start Menu
Click the Start button. Type Quick Assist in the search bar. Select the Quick Assist app from the results.
Step 2: Provide Assistance
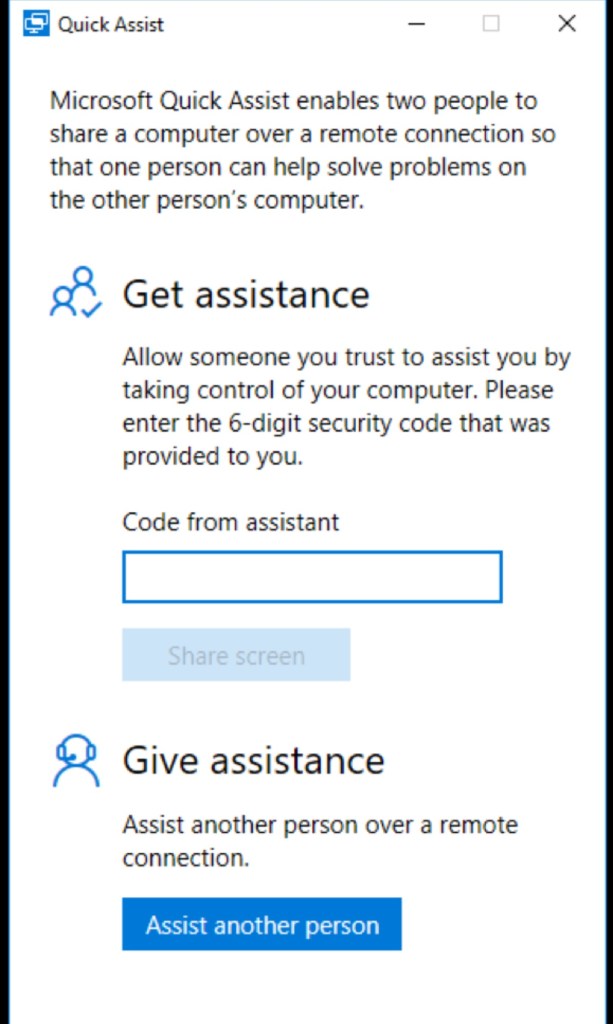
Open Quick Assist. Click on Help someone. Sign in with your Microsoft account if prompted. A 6-digit security code will be generated. Share this code with the person you’re assisting.
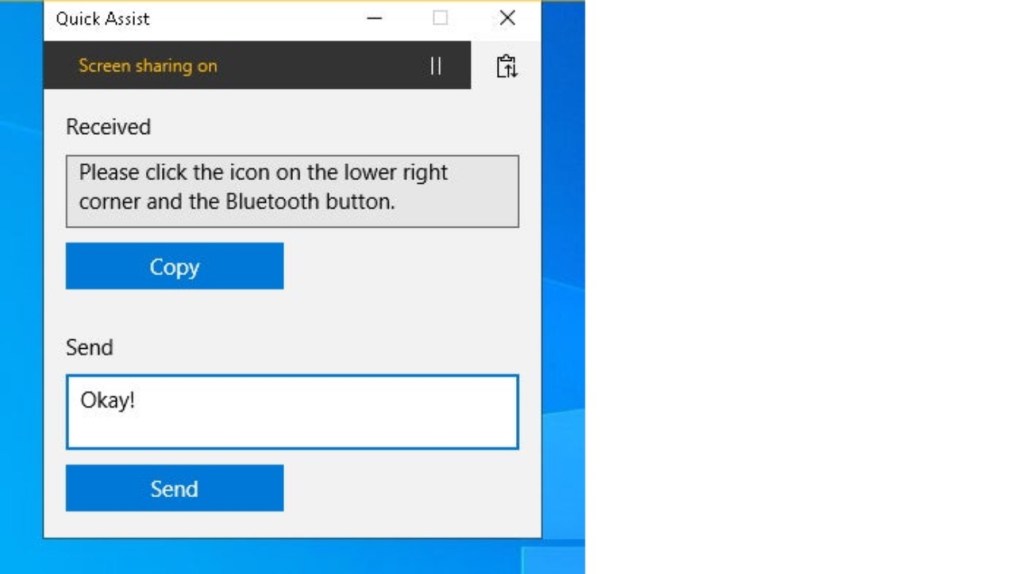
Step 3: Receive Assistance
Open Quick Assist. Enter the 6-digit code provided by the assistant. Click Submit. Click Allow to share your screen.
Step 4: Control Options
The assistant can choose to Take full control or View screen. The recipient will be prompted to Allow or Deny this request.
IT isn’t just about having the answers — it’s about finding smarter, faster ways to get things done. These small, daily discoveries are what build real expertise.

Leave a comment