HP Aruba Lan Switches – How to configure ports
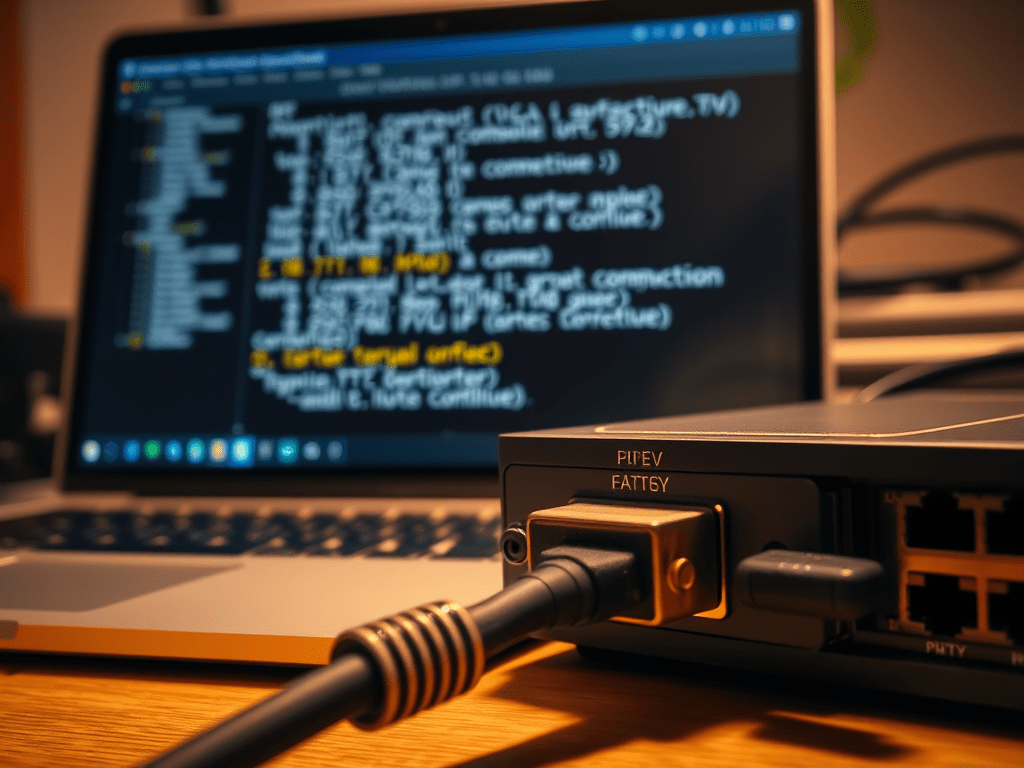
- Connect the Serial cable to the computer and the console port on the switch
- Now open Putty on the computer
- Go to the device manager on the computer and check if COM port is enabled.
- Make note of the COM port number
- Select the above-noted COM port in Putty
- Click Enter
- Click Enter. It will now open the console screen on the laptop.
- Enter the command ‘sh run’ on the console screen to display configured VLANs. (VLAN 3060 which is also named ‘Data_LAN’ is the client VLAN
- Enter the command ‘config t’ to enter the configuration mode.
- Enter the command ‘VLAN ‘‘number’’ to open VLAN
- Enter the command ‘no untagged **’, where ** is the port number of the switch that you are trying to configure.
- Enter the command ‘wr mem’ to save changes to the switch’s memory.
Requirements
Before starting, ensure that you have the following:
- A console (serial) cable — typically RJ45-to-DB9 or USB-to-RJ45, depending on the switch model.
- A computer or laptop with a serial or USB port.
- Terminal emulation software such as Putty, Tera Term, SecureCRT, or HyperTerminal (Putty is a common free option).
- If your computer lacks a built-in serial port, a USB-to-Serial adapter and corresponding drivers.
Step 1. Connect the Switch to the Computer
- Connect one end of the console cable to the console port on the switch. This port is often labeled “Console” or “Mgmt.”
- Connect the other end of the cable to your computer’s serial or USB port.
- If you are using a USB-to-Serial adapter, wait for Windows to install the necessary drivers. If it does not install automatically, download them from the adapter manufacturer’s website.
Step 2. Verify the COM Port
- Open Device Manager on the computer.
- Right-click the Start menu and select Device Manager.
- Expand the section labeled “Ports (COM & LPT).”
- Identify the connected port. It will appear as something like “USB Serial Port (COM3)” or “Prolific USB-to-Serial Comm Port (COM5).”
- Note down the COM port number. You will need it when configuring Putty.
If the COM port does not appear, try reconnecting the cable, using another USB port, or reinstalling the adapter driver.
Step 3. Configure the Console Session in Putty
- Open Putty.
- Under “Connection Type,” select “Serial.”
- In the “Serial line” field, enter the COM port number (for example, COM3).
- Set the “Speed” (baud rate) to 9600. This is the standard default, though some switches may require 115200.
- Click “Open” to start the session.
Alternative terminal programs include:
- Tera Term: Free software with support for macros, logging, and multiple sessions.
- SecureCRT: A commercial option offering advanced session management features.
- Windows Terminal (PowerShell): Advanced users can use the command
mode COM3:9600,n,8,1followed bycopy con COM3to initiate serial communication.
Step 4. Access the Switch Console
Once the session window opens, press Enter once or twice. The switch console prompt should appear, for example Switch> or Switch#.
If credentials are required, enter the administrator username and password.
Step 5. View the Running Configuration
To display the current configuration, enter one of the following commands:
show running-config
or
sh run
This will list configuration details, including VLANs and their assigned ports.
Example output:
vlan 3060
 name Data_LAN
 untagged ethernet 1/0/5
 tagged ethernet 1/0/10
In this example, VLAN 3060 (named “Data_LAN”) is the client VLAN.
Step 6. Enter Configuration Mode
To make configuration changes, enter:
configure terminal
or simply
config t
The prompt will change to Switch(config)#, indicating that you are in configuration mode.
Step 7. Edit VLAN Configuration
To modify or create a VLAN, enter:
vlan 3060
You are now working within the VLAN configuration context.
Step 8. Modify Port Tagging
To remove an untagged port from a VLAN, enter:
no untagged ethernet 1/0/5
Replace 1/0/5 with the correct port number.
Explanation:
- Untagged ports are typically used for connecting end devices such as PCs or printers.
- Tagged ports are used for trunk connections between switches or routers.
Alternative command syntax varies by switch brand:
- Cisco IOS:
interface gigabitEthernet0/1 switchport mode trunk switchport trunk allowed vlan remove 3060 - HP/Aruba:
vlan 3060 no untagged 1/0/5 - Dell:
interface vlan 3060 no untagged ethernet 1/g5
Step 9. Save Configuration Changes
To ensure that configuration changes are retained after a reboot, save the running configuration to memory:
write memory
or
wr mem
Alternatively, on some Cisco switches:
copy running-config startup-config
Step 10. Exit and Verify
- Exit configuration mode by typing:
end - Verify the configuration changes with:
show vlan - Confirm that the modified ports are correctly assigned.
Troubleshooting
| Issue | Possible Cause | Resolution |
|---|---|---|
| No console output | Incorrect COM port or baud rate | Check Device Manager and ensure settings match |
| Garbled text | Incorrect baud rate | Try 9600, 19200, or 115200 |
| Commands not recognized | Wrong switch OS or syntax | Verify switch brand and operating system |
| Configuration lost after reboot | Changes not saved | Run write memory or copy running-config startup-config |
Summary
By following this procedure, you can successfully connect to a switch through a serial console, verify the correct COM port, access and modify VLAN configurations, and save your changes permanently. This method applies broadly to most managed switches, with minor command variations depending on the manufacturer.
| Problem | Likely Cause | Fix |
|---|---|---|
| No console output | Wrong COM port or baud rate | Check Device Manager and settings |
| Garbled text | Incorrect baud rate | Try 9600, 19200, or 115200 |
| Commands not recognized | Wrong switch OS or syntax | Check brand (Cisco, HP, Aruba, Dell, etc.) |
| Changes lost after reboot | Forgot to save | Run wr mem or copy run start |

Leave a comment